Follow Me On Social Media!

Easy Mini Tart Shells: Unleash Your Inner Pastry Chef!
Introduction to Tartlet Shells (Easy Mini Tart Shells)
Creating easy mini tart shells has been one of my favorite kitchen adventures. There’s something magical about turning a simple mixture of ingredients into delightful, bite-sized treats that burst with flavor. Imagine the first time you took a bite of a delicate, buttery tart shell filled with your favorite custard or fresh fruit. That’s the moment you’re aiming for—where the texture of the shell complements the filling perfectly and makes your taste buds dance with joy.
Tartlet shells are more than just a treat; they are a canvas for your culinary creativity. Their versatility allows you to customize them to fit any occasion, from elegant dinner parties to casual weekend get-togethers. You can fill these shells with anything from sweet chocolate ganache to tangy lemon curd or even savory quiches, making them ideal for both dessert and appetizer options. Plus, they are easy to make, allowing even novice bakers to feel like professionals in the kitchen.
What makes mini tart shells a perfect treat?
-
Bite-sized Bliss: Mini tart shells are the perfect portion size. They satisfy your sweet tooth without overwhelming it, making them ideal for sharing or as a delightful end to a meal.
-
Endless Fillings: The possibilities for what you can fill these shells with are endless. Whether you prefer fruit, pastry cream, or savory ingredients, each mini tart can be a unique explosion of flavors.
-
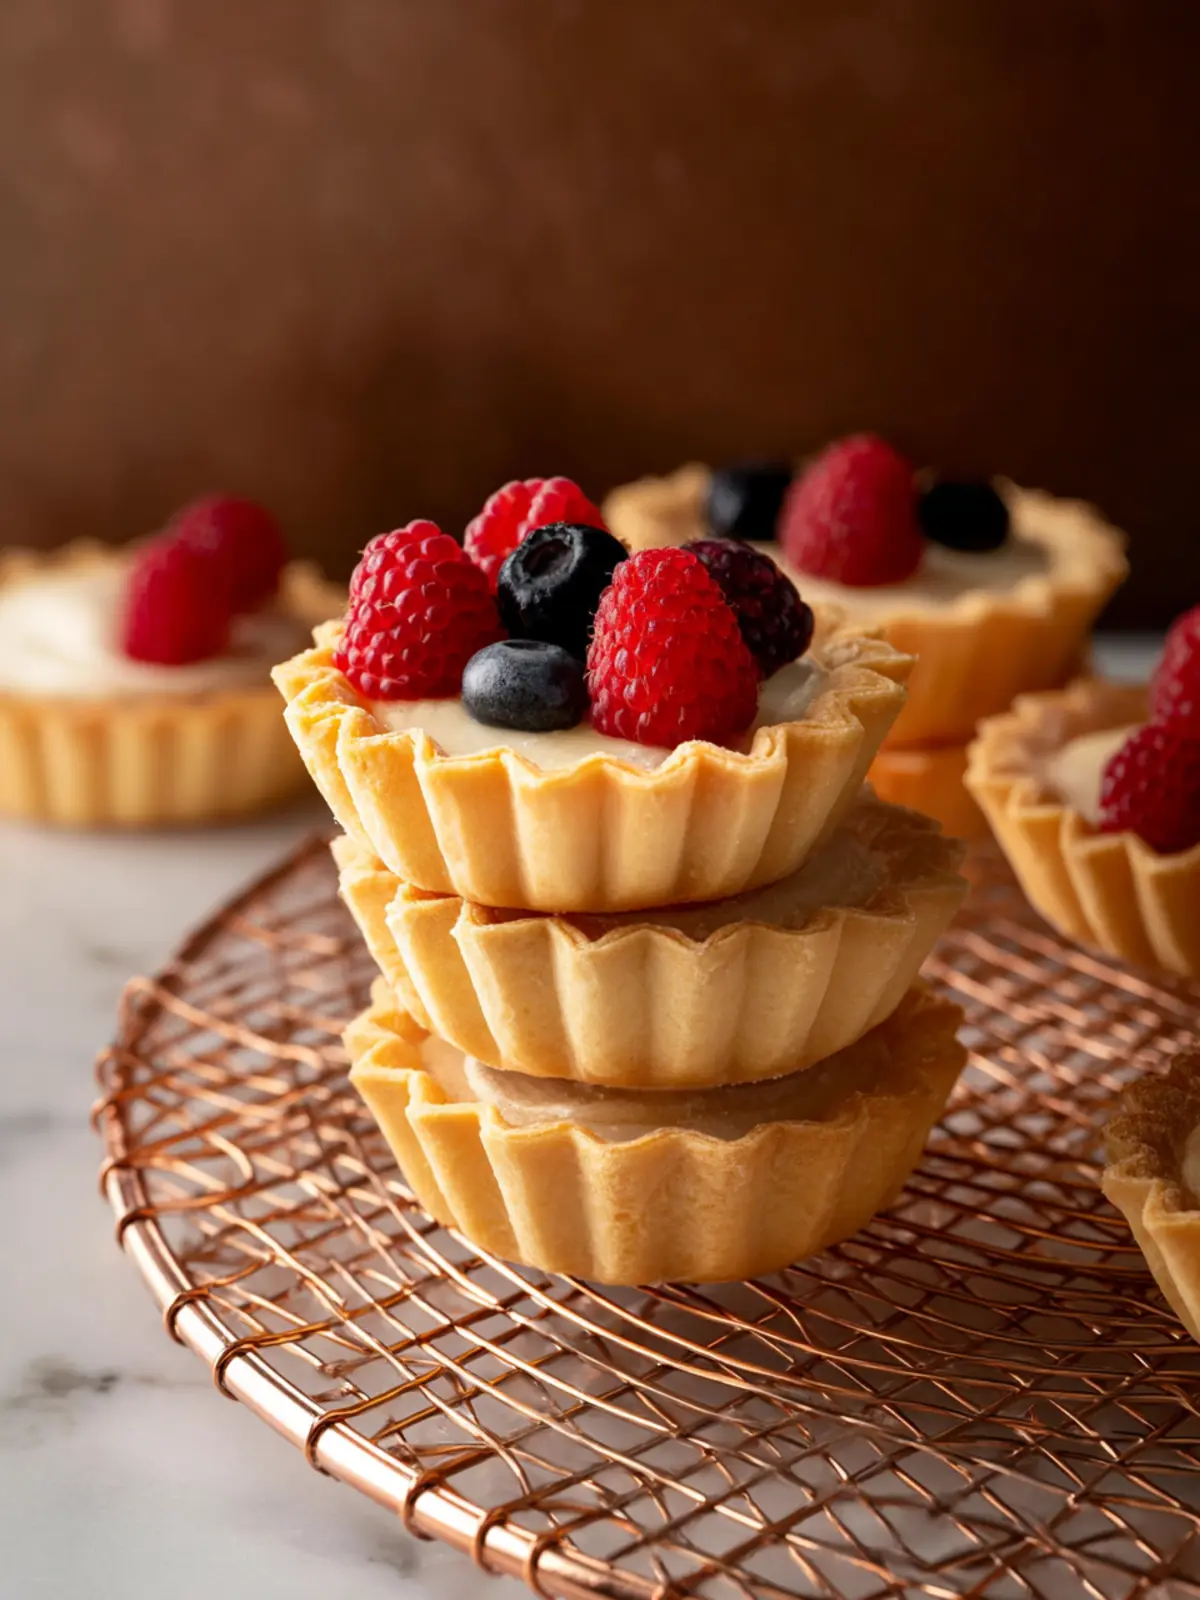
Visual Appeal: Their petite size and beautifully baked crusts make them a stunning centerpiece on any dessert table. Imagine colorful fruit arrangements or drizzles of chocolate over a pristine white custard!
-
Easily Customizable: You can tailor the recipes to fit dietary preferences or specific flavor profiles. Whether you’re accommodating gluten-free guests or experimenting with new flavor combinations, these easy mini tart shells are incredibly adaptable.
Baking your own mini tart shells allows you to enjoy this delightful experience and impress your friends and family alike. Get ready to roll, bake, and fill—your journey into the world of tartlets is just beginning!

Key Ingredients for Tartlet Shells
Creating delightful easy mini tart shells starts with understanding the fundamental ingredients that bring these little delights to life.
Butter
In this recipe, I always opt for unsalted butter—a key player in achieving that rich, creamy texture. If you enjoy the taste of salted butter, simply reduce the other added salt in the recipe for a balanced flavor profile.
Sugar
Granulated sugar is added to the dough to provide a subtle sweetness. This ensures that whether you fill your tartlets with luscious fruits or savory ingredients, the sweetness remains in perfect harmony.
Salt
A pinch of salt is essential. It may seem small, but salt elevates the overall flavor, making each mouthful of your tart shells a bit more tantalizing.
Egg
The inclusion of an egg acts as a binder. It’s key to achieving that wonderful flaky texture once your shells are baked to golden perfection.
All-Purpose Flour
I recommend using spooned and leveled all-purpose flour. This method ensures you achieve the perfect consistency and prevent overmixing the dough, which can toughen the crust.
With these key ingredients at your disposal, you’re well on your way to crafting irresistibly delicious easy mini tart shells!
Why You’ll Love This Recipe
Creating easy mini tart shells at home isn’t just a culinary task; it can be a delightful experience that transforms your kitchen into a mini patisserie. Picture a gathering of friends or family where you surprise them with bite-sized treats that they’ve only seen in fancy bakeries. The beauty of these tart shells lies in their flavor appeal and versatility.
Flavor appeal and versatility
These easy mini tart shells are a canvas for your creativity. You can fill them with an endless variety of sweet or savory fillings—think luscious custards, fresh fruits, or even savory quiches. Whether you want to impress guests at a dinner party or treat yourself to a homemade dessert, these tart shells fit the bill perfectly.
- Sweet Options: Consider a luscious lemon curd with fresh blueberries or a rich chocolate mousse.
- Savory Creations: Try a spicy goat cheese blend topped with roasted cherry tomatoes or a classic spinach and feta mixture.
The beauty of these shells is their crisp texture and buttery flavor. They are light yet sturdy enough to hold your stunning fillings, ensuring every bite is satisfying. Plus, they’re made with simple pantry staples, making them an easy go-to whenever you crave something special. Who knew that achieving gourmet results could be so hassle-free? Dive into this recipe to discover just how enjoyable it can be!

Tips for Making Perfect Tartlet Shells
Creating easy mini tart shells can be a delightful venture, especially when you get that perfect balance of flaky and buttery. Here are some helpful tips that will elevate your pastry game and lead you to success.
Techniques for Mixing and Rolling the Dough
-
Butter Temperature: Start with chilled butter. Cold butter helps create those beautiful flaky layers. Cut it into the flour until the mixture resembles coarse crumbs; this technique prevents overworking the dough.
-
Gradual Addition of Water: When combining the dough, add ice-cold water a tablespoon at a time. This method helps you avoid a sticky mess while ensuring the dough holds together. Too much moisture can lead to tough shells.
-
Chilling is Key: After mixing, wrap your dough in plastic wrap and refrigerate for at least 30 minutes. This step not only firms up the dough but also relaxes the gluten, resulting in a tender shell.
-
Rolling Technique: Roll out the dough between two sheets of parchment paper. This prevents sticking and allows for an even thickness. Aim for about 1/8 inch thick to ensure that the shells bake uniformly.
-
Pricking the Surface: Before baking, use a fork to prick the bottom of each tartlet shell. This technique helps to prevent air bubbles and allows steam to escape during baking.
By following these simple tips, your easy mini tart shells will turn out perfectly each time, ready to be filled with your favorite treats!
Time Breakdown for Tartlet Shells
Creating easy mini tart shells is a delightful endeavor that brings a touch of elegance to any dessert table. To help you navigate the process, here’s a breakdown of how your time will be spent crafting these delightful treats.
Preparation Time
Take approximately 15-20 minutes to gather your ingredients and mix the dough. This is your opportunity to blend everything smoothly, ensuring a rich and flavorful shell.
Chilling Time
Once your dough is made, allow it to chill in the fridge for about 30 minutes. This step is crucial, as it relaxes the gluten, leading to a more tender shell.
Baking Time
Finally, baking your easy mini tart shells will take around 10-15 minutes. Keep an eye on them as they turn a lovely golden brown; this is when they’re ready to take out of the oven!
With this time breakdown, you’ll be well-equipped to create delicious tart shells that impress at any gathering.

Nutritional Information for Tartlet Shells
When you dive into the world of baking, these easy mini tart shells quickly become a delightful staple in your kitchen. Not only are they simple to prepare, but they also bring versatility and satisfaction to your tables—perfect for hosting or indulging on a quiet evening.
Calories
One serving of these easy mini tart shells contains approximately 100 calories. This makes them a great option for when you crave a little something sweet without diving headfirst into indulgence.
Fat Content
Each shell has around 5 grams of fat, primarily from the butter used in the recipe. This butter enriches their flavor and contributes to that delightful, flaky texture we all love.
Carbohydrates
A serving boasts about 13 grams of carbohydrates, mainly derived from the flour. These carbs provide just enough energy to keep your spirits high while you enjoy your tasty creations!
FAQs about Tartlet Shells
Creating the perfect easy mini tart shells can be a delightful culinary adventure, but questions often arise. Here, I’ll clear up some common confusions to help you make the most out of your baking experience.
Can I make these tart shells ahead of time?
Absolutely! Preparing easy mini tart shells in advance is a fantastic way to save time, especially when hosting gatherings. You can make the dough a day or two ahead, wrap it tightly in plastic wrap, and store it in the fridge. Once you’re ready to bake, roll it out as usual. Alternatively, you can bake the shells and keep them in an airtight container for up to three days. Just fill them with your favorite fillings right before serving for the freshest taste.
What are the best fillings for mini tart shells?
The beauty of easy mini tart shells lies in their versatility. You can opt for sweet or savory fillings, depending on the occasion.
- Sweet fillings: Classic options include pastry cream, fresh fruit, lemon curd, or chocolate ganache. Fresh berries with a cream cheese filling are also a winner.
- Savory fillings: Think about quiche-style fillings with eggs, cheese, vegetables, or even a delightful mixture of goat cheese and roasted peppers.
How do I prevent my tart shells from shrinking during baking?
Shrinking tart shells can be a disappointing surprise, but there are easy solutions!
- Chill the dough: After mixing your dough, make sure to chill it for at least 30 minutes before rolling it out. This helps the gluten relax and prevents shrinkage.
- Don’t overwork the dough: Mix just until combined. Overworking can lead to tough crusts that shrink.
- Use pie weights: When par-baking, placing pie weights on top of a parchment-lined shell helps maintain its shape.
With these tips in your back pocket, you’ll be set for tartlet success!
Conclusion on Tartlet Shells
In the delightful world of baking, easy mini tart shells stand out as both versatile and charming. They serve as the perfect canvas for a myriad of fillings, ranging from sweet to savory, making them an excellent choice for any occasion. Whether you’re hosting a gathering or enjoying a quiet evening at home, these tart shells can elevate your culinary experience.
Remember, mastering this simple recipe unlocks a treasure trove of opportunities to impress your friends and family. So gather your ingredients, embrace your creativity, and indulge in the joy of creating irresistible mini tarts! Happy baking!
Print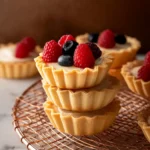
Tart Recipe
- Total Time: 2 hours 33 minutes
- Yield: 6 servings 1x
- Diet: Vegetarian
Description
A delicious tart recipe made with a buttery, flaky crust.
Ingredients
Scale
- 8 tbsp unsalted butter (see notes for using salted)
- ½ cup granulated sugar
- ⅛ tsp salt
- 1 egg
- 250 g all-purpose flour (2 cups flour, spooned and leveled)
Instructions
- Using standing mixer with paddle attachment, or using a hand-held mixer with a large bowl, cream butter, sugar, and salt on medium speed until combined.
- Mix in the egg, scraping down the bowl to ensure it is fully incorporated.
- Add the flour and mix on low until just incorporated, scraping down the bowl as necessary. Do not overmix.
- On a lightly floured surface, divide the dough into 2 balls and shape each into a disc ½ inch thick.
- Wrap tightly in plastic wrap and refrigerate for at least 2 hours or overnight.
- When ready to bake, preheat oven to 325 ℉.
- Remove the dough from the fridge and roll out to about ⅛ inch thick.
- Working quickly so the dough stays cold, cut out circles about ½-1 inch larger than the tart pans and gently place into the tart pans, being careful to not stretch out the dough as you want it to stay in place and not shrink back to its original size when baking. Re-roll remaining dough and repeat.
- If mini tarts need more dough, add more dough and press into place. If dough gets too soft, put it back in the fridge or freezer for 10-15 minutes.
- Once you’ve filled the tart shells, cut off any excess using a knife. You can also roll the rolling pin across the top to remove any excess. Then, score the bottoms of the tarts by gently poking the bottom of the tart shells with a fork about 2-5 times, depending on the size of your shells.
- Before baking, chill or freeze the tart shells for 15 minutes.
- Then, place the chilled tarts on a baking sheet and bake in the pre-heated oven for 14-18 minutes (for 4 inch tarts), turning the pan halfway in between. Baking times will vary depending on the size of the tart shells. See post for more info.
- When tarts are golden brown, remove from oven and let cool.
- Once cooled, remove from mold, add desired filling, and enjoy!
Notes
- For a richer flavor, consider using salted butter.
- Prep Time: 15 minutes
- Cook Time: 18 minutes
- Category: Dessert
- Method: Baking
- Cuisine: American
Nutrition
- Serving Size: 1 tart
- Calories: 200
- Sugar: 10g
- Sodium: 150mg
- Fat: 12g
- Saturated Fat: 7g
- Unsaturated Fat: 3g
- Trans Fat: 0g
- Carbohydrates: 20g
- Fiber: 1g
- Protein: 2g
- Cholesterol: 40mg