Follow Me On Social Media!

Homemade Cherry Pie: Irresistibly Sweet and Soothing Delight
Introduction to Homemade Cherry Pie
There’s something undeniably comforting about a slice of homemade cherry pie. Perhaps it’s the way the sweet-tart cherries burst with flavor, mingling with a buttery, flaky crust that melts in your mouth. When you eat a piece of pie that’s made from scratch, it’s a cozy embrace of nostalgia, bringing back memories of family gatherings or summer days spent picking cherries.
The art of making pie is a tradition that has been passed down through generations, and cherry pie holds a special place in many hearts. Did you know that cherry pie has roots dating back to medieval Europe? Its popularity skyrocketed in America, particularly in the Midwest, where cherry orchards thrive. The act of baking a pie can feel like a journey—a blend of simplicity and creativity that’s both therapeutic and rewarding.
Why does a slice of pie bring so much comfort?
Think about it: Pie is often associated with home, warmth, and togetherness. It embodies the spirit of sharing and celebration, whether it’s a summer barbecue, a holiday feast, or just a cozy evening at home. What could be more satisfying than pulling a freshly baked homemade cherry pie from the oven, the sweet aroma wafting through your kitchen? It invites everyone to gather around, making it an iconic centerpiece for any occasion.
Moreover, the ritual of baking a pie connects us to our loved ones. Each step—from pitting the cherries to crimping the crust—allows you to slow down and appreciate the process. As you roll out the dough, you’re crafting something uniquely yours, filled with love and care. And when you finally take that first bite, it’s more than just dessert; it’s a slice of happiness.
So let’s dive in and discover how you can create your very own homemade cherry pie. With a few fresh ingredients and some patience, you’ll have a delightful masterpiece ready to share with friends and family. Get your aprons on, and let’s start this delicious adventure together!
Key Ingredients for Homemade Cherry Pie
Creating a delightful homemade cherry pie is all about choosing the right ingredients that come together to tell a delicious story. Let’s dive into the essentials that make this dessert a standout.
-
Cherries: For that vibrant cherry flavor, fresh, pitted cherries are my go-to. I recommend using sweet cherries for a naturally rich sweetness, but a mix of tart and sweet can offer an incredible depth and balance. If fresh cherries are out of season, high-quality frozen cherries can save the day!
-
Sugar: A balance of granulated sugar and brown sugar is essential. The granulated sugar enhances the sweetness, while brown sugar introduces a hint of caramel flavor that complements the cherries beautifully.
-
Lemon Juice: Adding freshness with lemon juice not only brightens the flavor but also helps the cherries retain their vibrant color. Just a tablespoon or two can make a significant difference.
-
Cornstarch: This is a must for thickening the cherry filling. It ensures a perfect consistency that doesn’t run when you slice into the pie.
-
Pie Crust: A buttery, flaky crust is the bedrock of any great pie. Whether you’re making your own or using a store-bought option, the key is to ensure it’s well-chilled for the best texture.
By thoughtfully selecting these ingredients, your homemade cherry pie will not only taste incredible but could also become a cherished favorite. Enjoy the process as you create something truly memorable!
Why You’ll Love This Homemade Cherry Pie
Making a delicious homemade cherry pie is like wrapping up your favorite memories in a flaky crust while the irresistible aroma wafts through your kitchen. This recipe invites you to experience the nostalgic delight of warm cherries paired with the buttery tenderness of pie crust, reminding us of family gatherings and summer picnics.
What makes this recipe a must-try?
-
Fresh Cherries: Using fresh cherries transforms your pie from ordinary to extraordinary. They burst with flavor, offering a delightful tartness that balances beautifully with the sweetness of sugar. Don’t worry if fresh cherries aren’t accessible; frozen ones can yield equally delightful results when used properly.
-
Simple Ingredients: The beauty of this homemade cherry pie lies in its straightforward list of ingredients. You’ll need flour, butter, sugar, a pinch of salt, and lemon juice, making it easy to whip up a scrumptious dessert without extensive prep work.
-
Perfect Balance of Flavors: The combination of sweet and tart from the cherries, complemented by a hint of lemon zest, creates a robust flavor profile that dances on your palate.
-
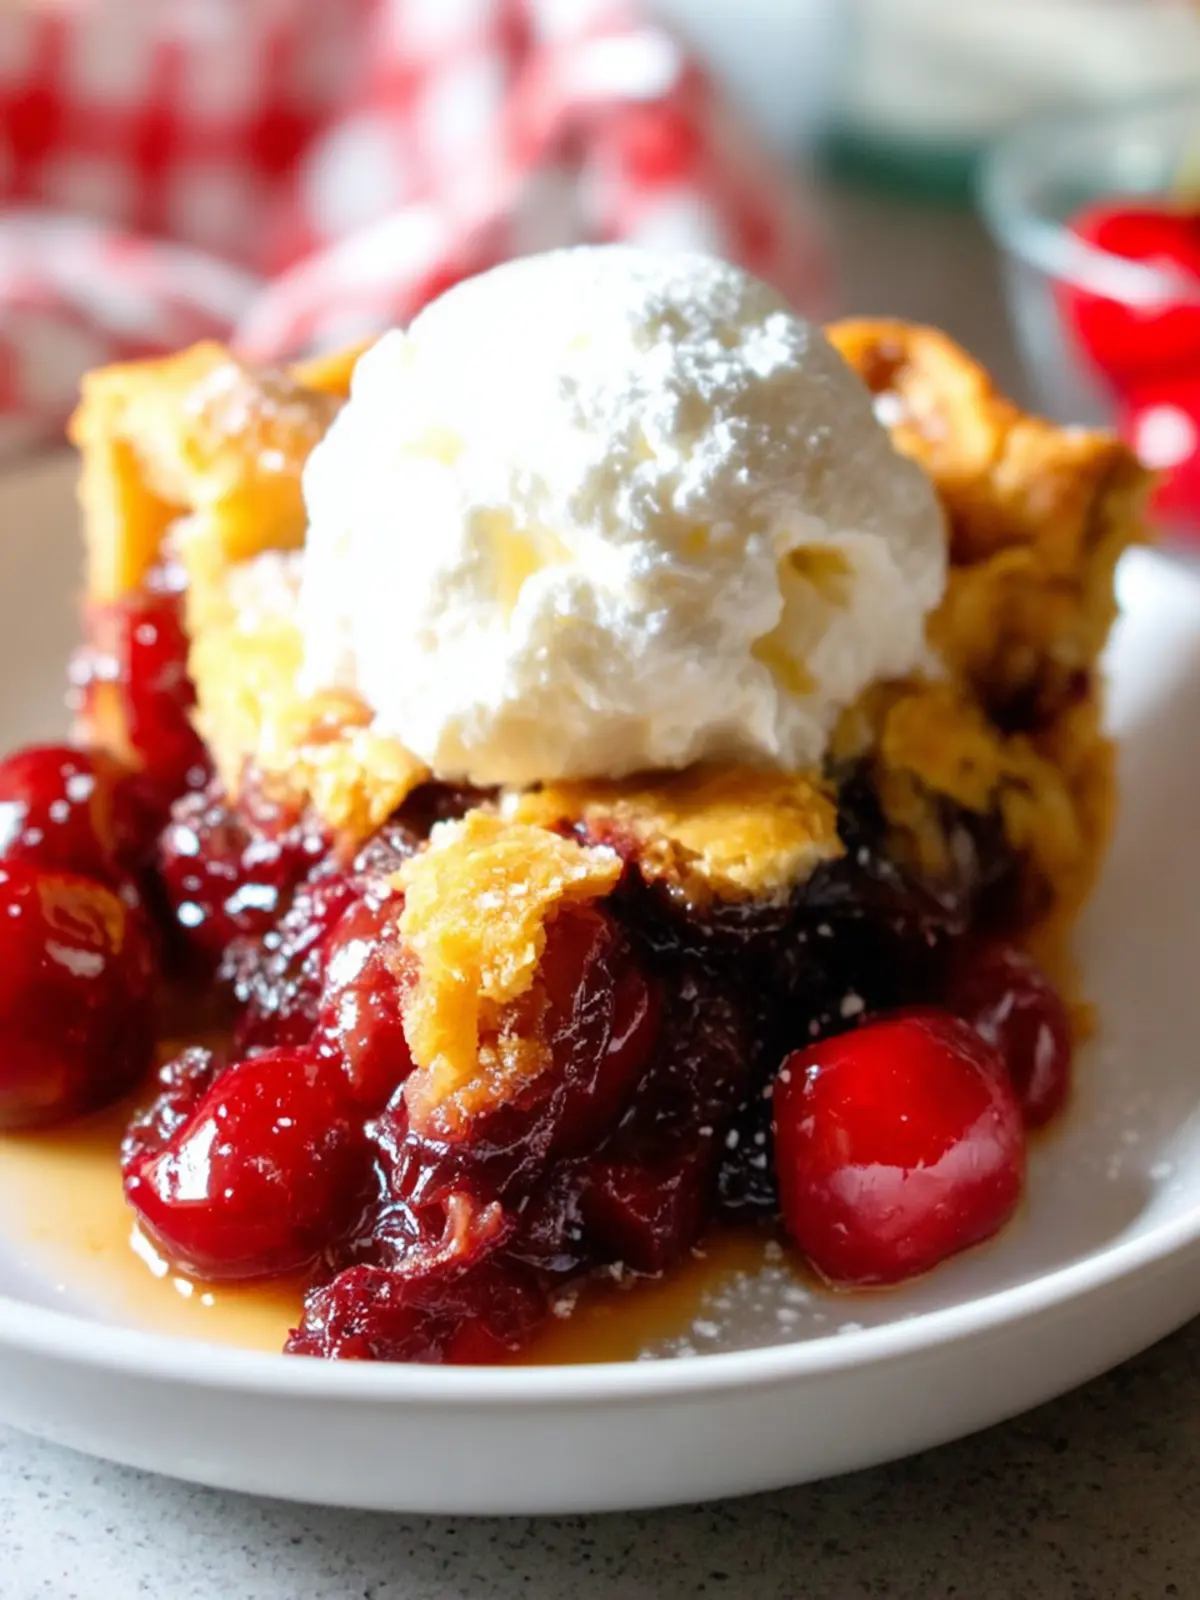
Versatile Enjoyment: Whether you have it à la mode with a scoop of vanilla ice cream or enjoy it warm, straight from the oven, this cherry pie adapts to suit any occasion.
Every slice of this homemade cherry pie is not just dessert; it’s a delightful experience that whets the appetite for more cherished moments.
Variations of Homemade Cherry Pie
When it comes to crafting a delightful homemade cherry pie, the beauty lies in its versatility. With a bit of creativity, you can transform a classic into something uniquely yours. Let’s explore some fun and delicious ways to customize this beloved treat!
How can you customize your cherry pie?
-
Different Fruit Combinations: While cherries are the star, consider mixing in other fruits! Adding raspberries or blueberries can introduce an exciting twist, creating a delightful balance of tartness and sweetness.
-
Flavor Enhancements: Elevate your filling with a splash of almond extract or a sprinkle of cinnamon. These subtle notes can add depth and complexity to your pie’s flavor profile.
-
Crust Variations: While a traditional flaky crust is fantastic, why not try a crumble topping? A mix of oats, brown sugar, and butter can create a crunchy contrast that complements the soft filling beautifully.
-
Serving Suggestions: Serve your homemade cherry pie warm with a scoop of vanilla ice cream for a comforting dessert. For a fresh take, try it with a dollop of whipped cream and a sprinkle of chopped mint.
Embrace the joy of baking and let your imagination run wild with these variations—your perfect cherry pie is just waiting to be discovered!
Tips for Making the Best Homemade Cherry Pie
Creating the ultimate homemade cherry pie is as much about the little touches as it is about the main ingredients. With a few key secrets, your pie can radiate with flavor and texture that leave a lasting impression.
What secrets lead to perfection?
-
Choose the Right Cherries: Opt for fresh, ripe cherries when in season. They provide a natural sweetness and a juicy burst of flavor. If fresh cherries aren’t available, frozen cherries are a great alternative; just be sure to thaw and drain them to avoid excess moisture.
-
Balance Your Sweetness: Cherries can vary in sweetness, so adjusting your sugar is essential. Consider taste-testing your cherries first! If they’re particularly tart, you might want to up the sugar a notch or add a hint of honey.
-
Use a Flaky Crust: The secret to a perfect crust lies in cold ingredients. Keep your butter and water chilled, and don’t over-knead the dough. This will ensure a flaky, tender crust that complements the cherry filling beautifully.
-
Add a Touch of Spice: A sprinkle of cinnamon or almond extract in your cherry filling enhances the flavor profile, bringing out the natural richness of the fruit.
-
Baking Time Matters: Keep an eye on your pie as it bakes. A golden crust and bubbling filling are your best indicators that it’s ready to come out of the oven!
By incorporating these tips, you’re on your way to a homemade cherry pie that will have everyone clamoring for seconds. Enjoy the process!
Time Breakdown for Homemade Cherry Pie
Creating that perfect homemade cherry pie is a delightful journey, and knowing the time each step requires helps you prepare and enjoy the process without any stress. Here’s a helpful breakdown of the time commitment involved.
Preparation Time
Setting aside about 20–30 minutes for prep is ideal. This includes pitting the cherries, making the pie crust, and assembling everything together. Don’t rush through it—this is when the magic begins!
Baking Time
Once your pie is prepped, pop it in the oven for about 45–50 minutes. This will allow the crust to turn golden brown and will fill your kitchen with the irresistible aroma of cherries and baked goodness.
Cooling Time
After baking, let your homemade cherry pie cool for at least an hour. This is essential for the filling to set, ensuring every slice stays intact. Plus, it offers a brief moment to savor the anticipation!
Nutritional Facts for Homemade Cherry Pie
Creating a delightful homemade cherry pie isn’t just about enjoying that scrumptious slice; it’s also about savoring the nutritional benefits that come with it. Let’s break down the essential nutritional facts so you can indulge a little more mindfully.
Calories
A typical serving of homemade cherry pie contains around 350 calories. This number can slightly vary based on the ingredients used and portion sizes. If you’re watching your caloric intake, consider enjoying it as an occasional treat rather than a daily indulgence.
Sugar
Diving into a slice of cherry pie means you’re also enjoying its natural sugars. Each serving usually boasts about 25 grams of sugar, most of which comes from the cherries and added sugars. Balancing sweetness with tartness gives that delicious flavor but be wary of the sugar content if you’re monitoring your intake.
Fiber
On the upside, cherries are a good source of fiber, providing about 2 grams per slice. Fiber aids in digestion and helps you feel full longer. So, while you treat yourself, you’re also getting some dietary benefits in every delightful bite of your homemade cherry pie.
Embrace your homemade creation with this knowledge in mind, and enjoy every delicious slice!
FAQs about Homemade Cherry Pie
Baking a homemade cherry pie often brings a wave of nostalgia, conjuring up memories of summer days spent picking cherries and rolling out dough. However, you’re bound to have some questions as you embark on this delicious journey. Here’s a helpful guide to answer some common inquiries.
Can I use frozen cherries?
Absolutely! In fact, using frozen cherries can create a convenient and delicious option. Just make sure to let them thaw and drain excess moisture before adding them to your pie filling. This can help to achieve that perfect flavor and texture in your homemade cherry pie.
How do I prevent a soggy crust?
A soggy crust is a common concern, but there are a few strategies to keep your crust flaky and crisp:
- Pre-bake your crust: Give your crust a head start by blind-baking it for about 10 minutes before adding the filling. This seals the crust and helps keep it crispy.
- Use a barrier: Sprinkle a thin layer of breadcrumbs or crushed nuts on the base before adding your cherry filling. This acts as a moisture barrier.
- Don’t overload on filling: While it’s tempting to stuff your pie full of cherries, it can lead to excess juices. Stick to the recipe for the best results!
What should I serve with pie?
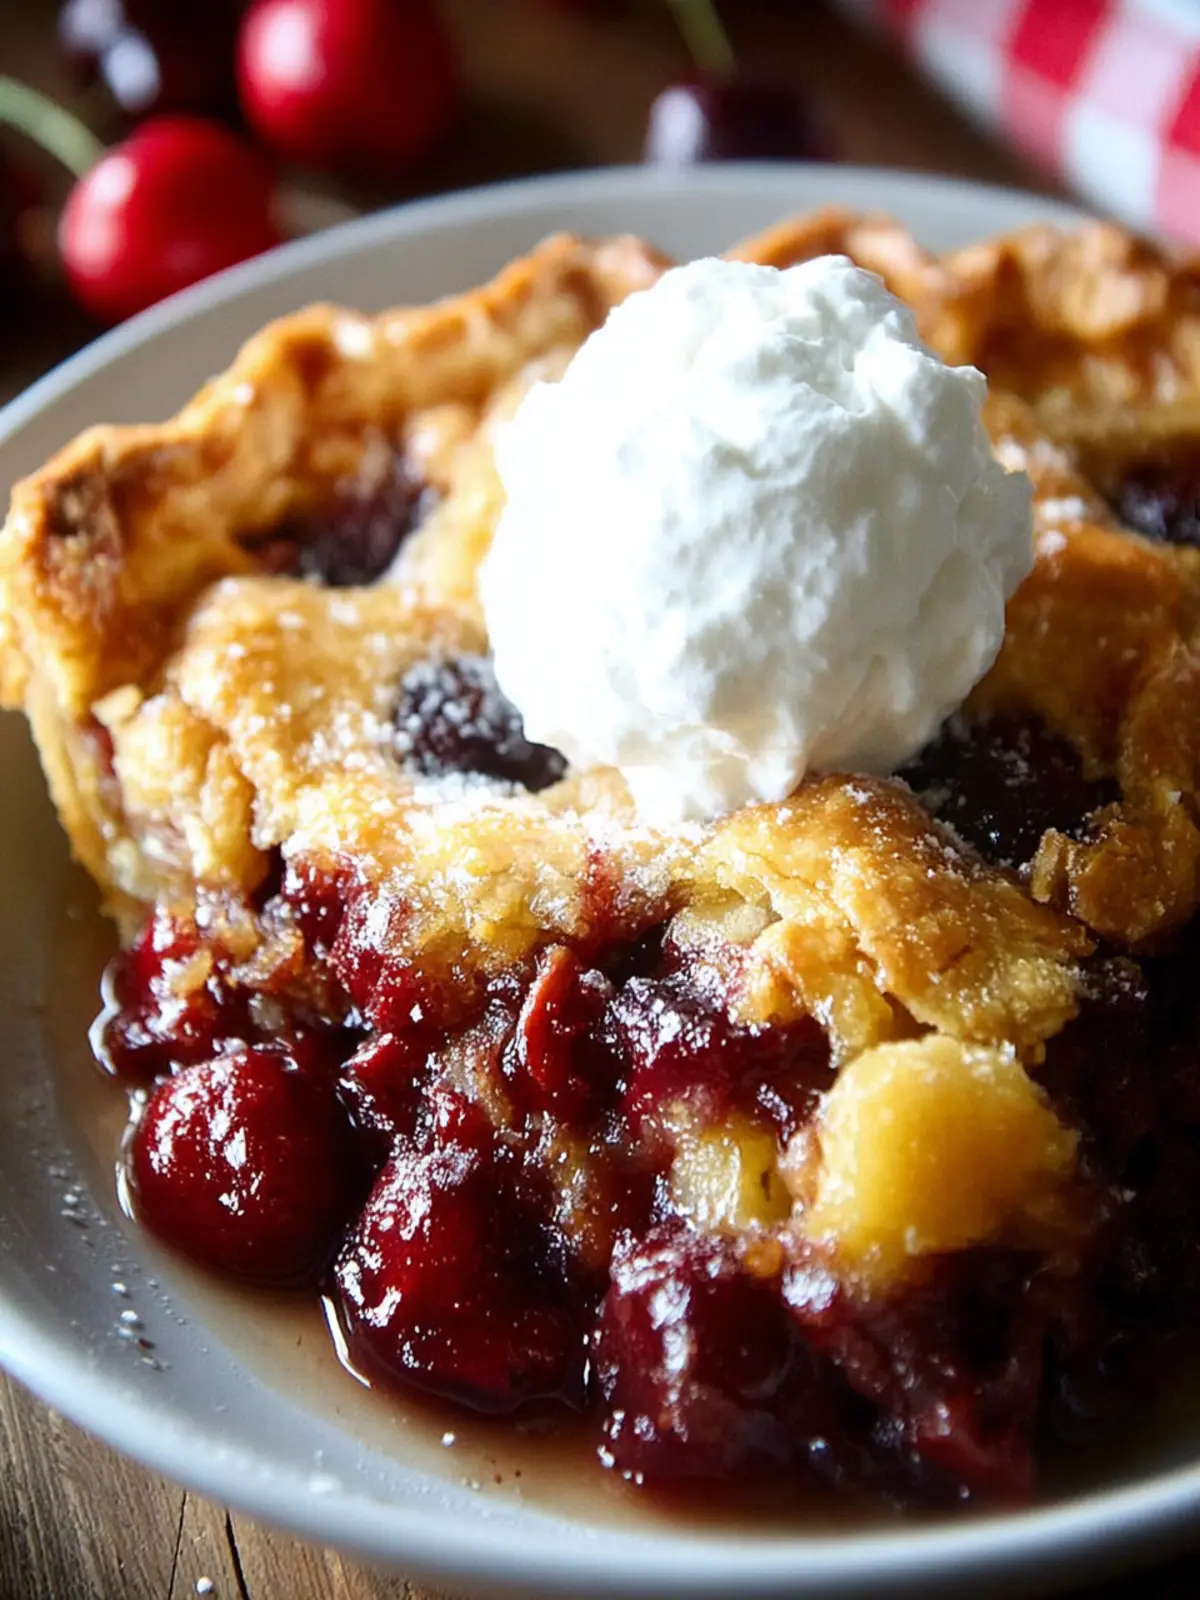
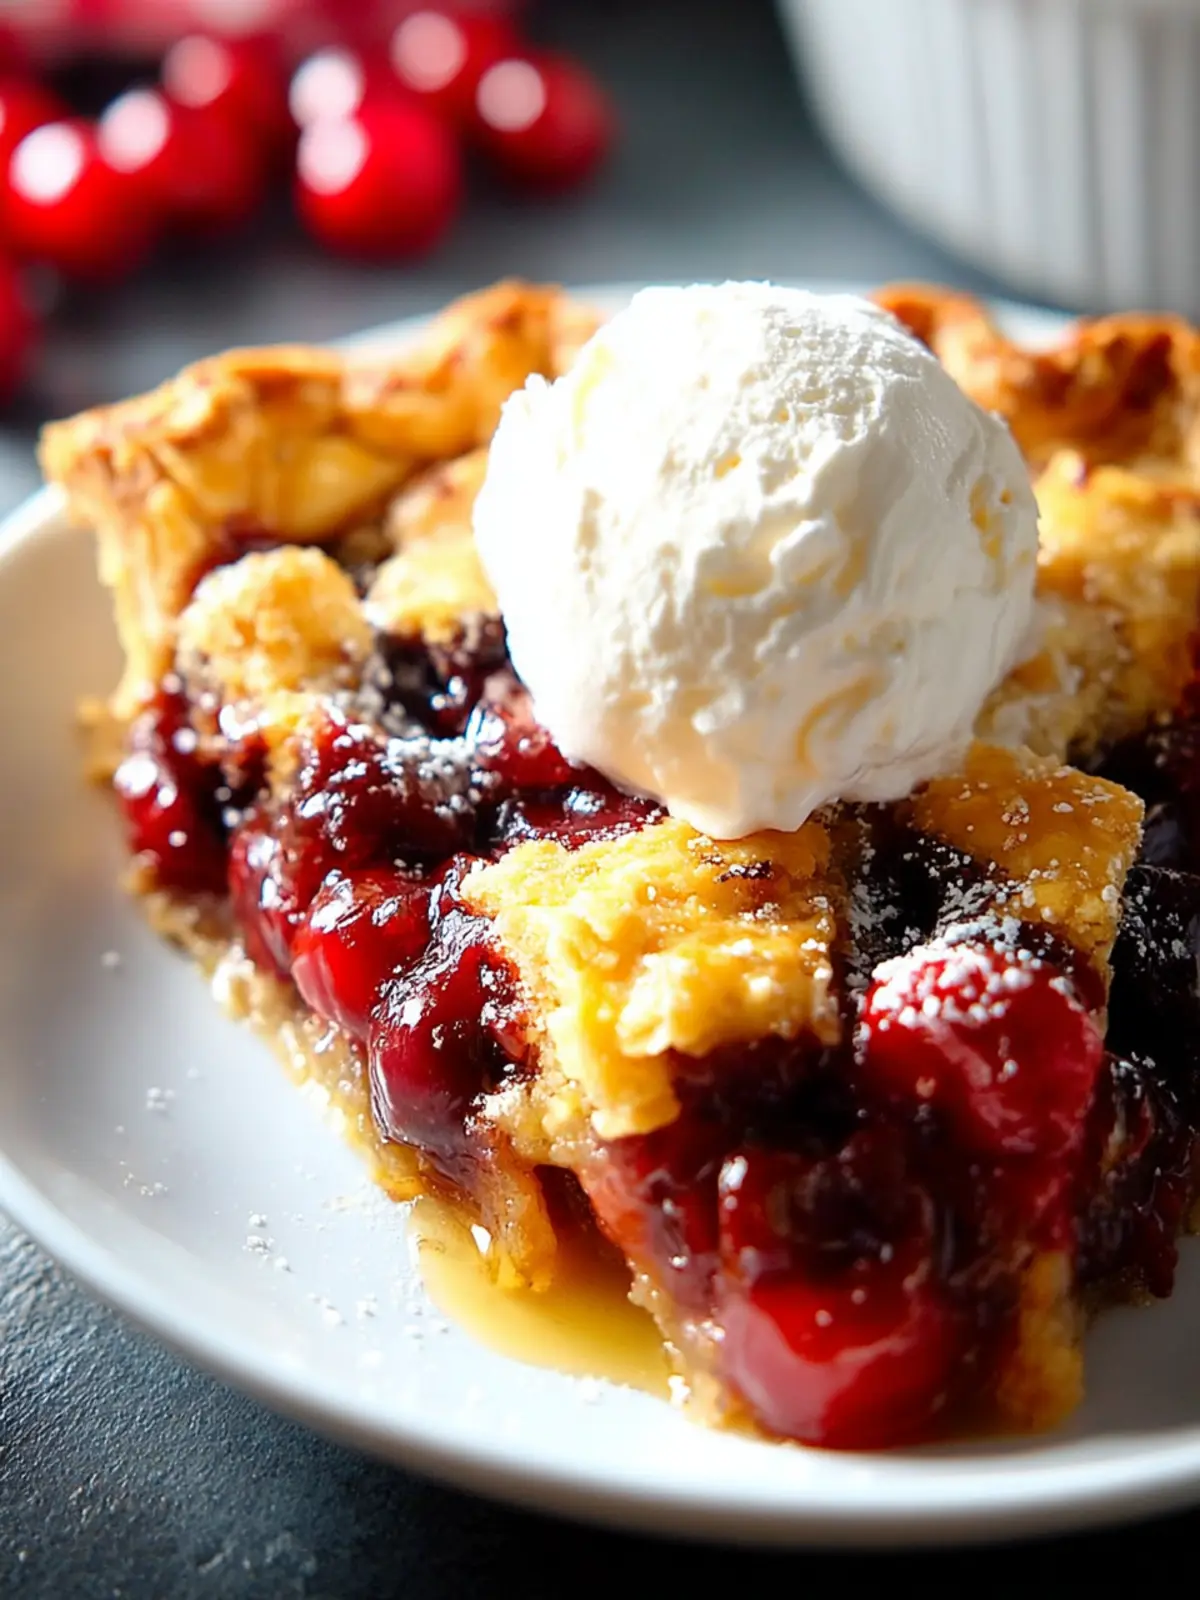
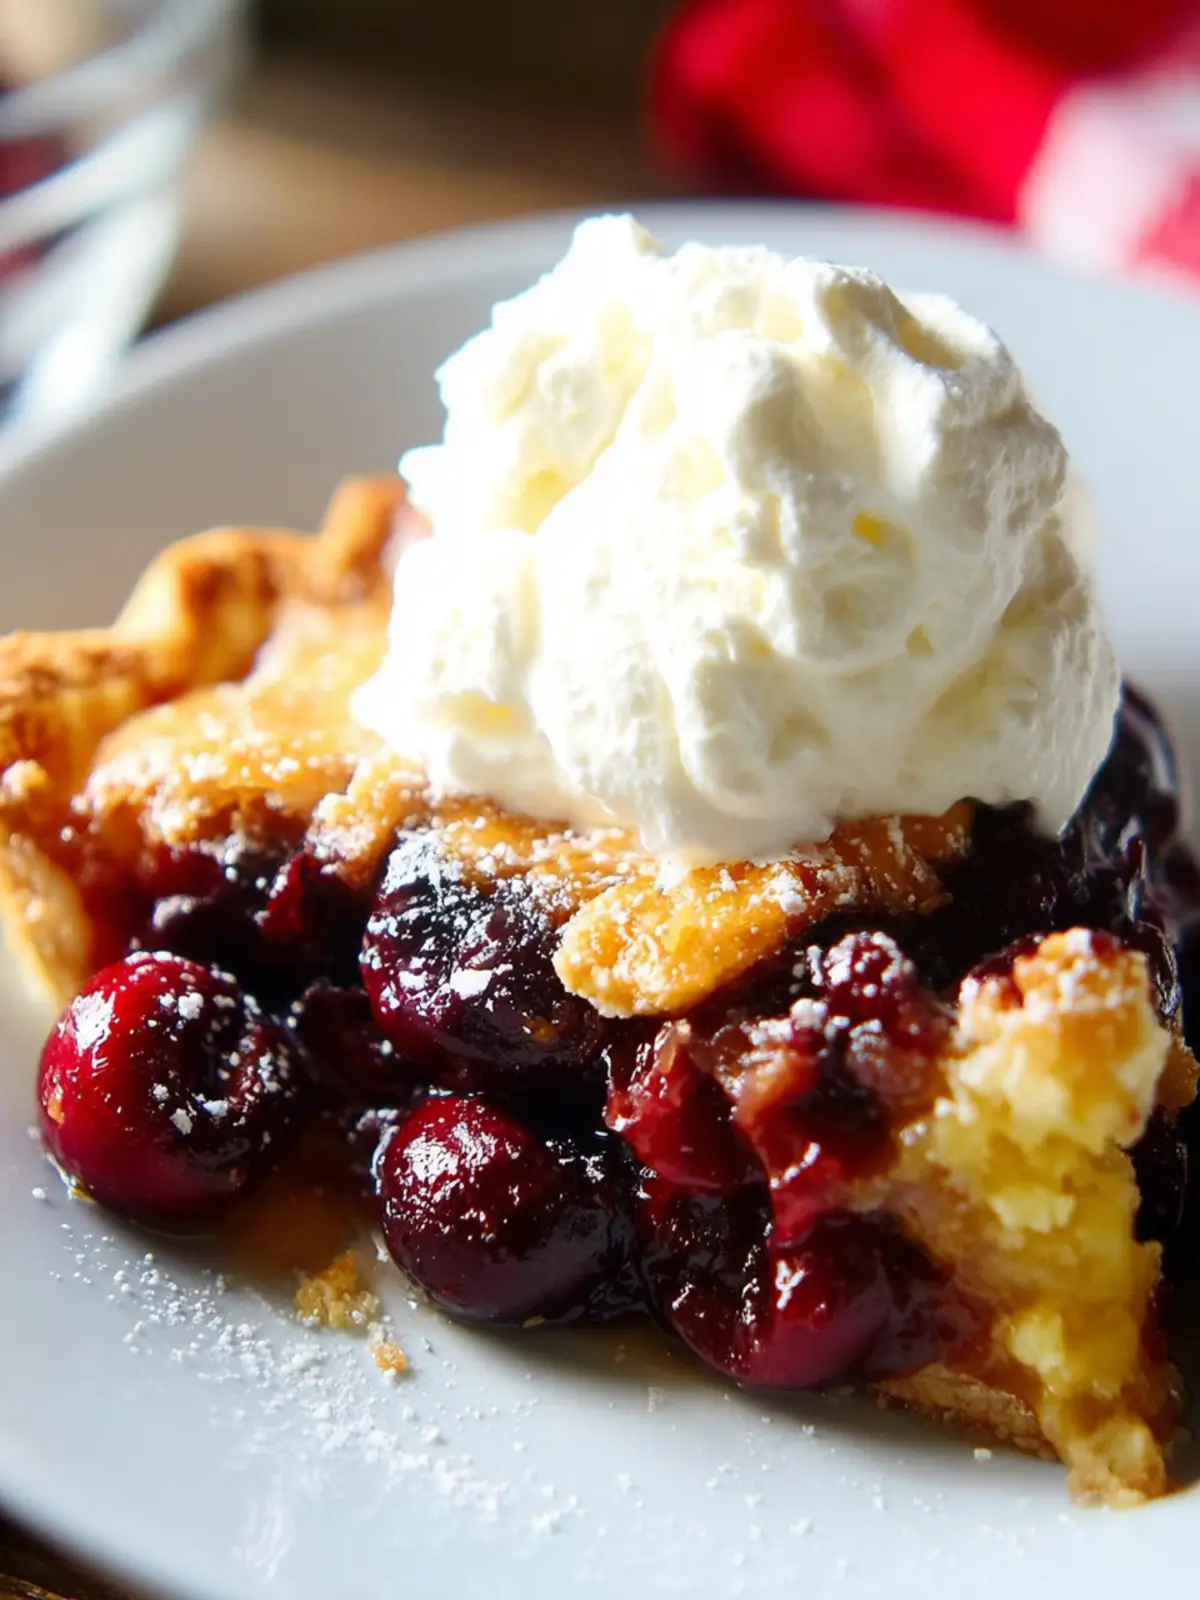
Pairing your homemade cherry pie with a scoop of vanilla ice cream creates a classic combination loved by many. Whipped cream is also a delightful addition, enhancing the rich flavors of the cherries. For a twist, consider serving it with a side of tart yogurt for a refreshing contrast.
With these tips, you’ll ensure your homemade cherry pie is as delightful as the memories it brings!
Conclusion on Homemade Cherry Pie
In the world of baked delights, nothing quite compares to the joy of making homemade cherry pie. This classic dessert not only fills your home with an inviting aroma but also creates moments that linger long after the last slice is shared. The delightful blend of tart cherries and buttery crust makes for a dish that sparks fond memories and warm conversations.
Whether it’s a special occasion or a casual dinner with friends, your homemade cherry pie is bound to impress. With practice and a pinch of love, you’ll master the art of pie-making. So gather your ingredients, roll up your sleeves, and embark on this delectable journey. Happy baking!
Print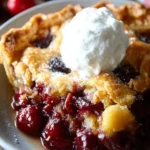
Cherry Pie
- Total Time: 90 minutes
- Yield: 8 servings 1x
- Diet: Vegetarian
Description
A delicious cherry pie with a flaky crust and sweet cherry filling.
Ingredients
Scale
- 2 pie crusts
- 4 1/2 cups cherries (pitted)
- 3/4 to 1 cup granulated sugar (adjust based on cherry sweetness)
- 3 tablespoons cornstarch
- 1 tablespoon lemon juice
- 1 teaspoon vanilla extract
- 2 tablespoons butter (cut into small pieces, optional)
- 1 large egg (beaten, for egg wash)
- 1 tablespoon granulated sugar (for sprinkling on crust)
Instructions
- Follow the recipe for the pie crust you are using. Line a 9-inch pie dish with the crust, leaving a slight overhang, and place it in the freezer while preparing the filling.
- Wash and clean fresh cherries, removing pits as needed. If using canned cherries, drain the syrup into a bowl and set the cherries aside.
- Mix cherries (fresh or canned), sugar, cornstarch, lemon juice, and vanilla extract in a mixing bowl. If using canned cherries, add about 1/4 cup of the reserved syrup. Stir until fully combined. Cover and let rest in the fridge for 30 minutes.
- Remove the cherry mixture from the fridge and drain as much of the juices from the bowl as possible and pour them into a saucepan. Heat juices over medium heat, stirring constantly until they reduce and thicken.
- Add reduced juices back into the bowl with the cherries and toss well. The juices may solidify when they hit the cold cherries, that’s ok! They will melt again in the oven.
- Roll out the remaining pie dough and decide on a top crust style—solid or lattice.
- Pour the prepared filling into the crust-lined pie dish and dot with small pieces of butter. Cover with the top crust, trim the edges, and crimp or seal.
- Brush the top crust with egg wash and sprinkle with granulated sugar for a golden finish.
- Preheat the oven to 375°F (190°C). Bake the pie on a baking sheet for 50-60 minutes or until the crust is golden and the filling is bubbling. If the crust browns too quickly, cover the edges with aluminum foil halfway through baking.
- Let the pie cool for at least 2 hours to allow the filling to set before serving.
Notes
- This pie can be served warm or cold, and it pairs well with vanilla ice cream.
- If cherries are not in season, frozen cherries can be used as a substitute.
- Prep Time: 30 minutes
- Cook Time: 60 minutes
- Category: Dessert
- Method: Baking
- Cuisine: American
Nutrition
- Serving Size: 1 slice
- Calories: 250
- Sugar: 18g
- Sodium: 150mg
- Fat: 10g
- Saturated Fat: 5g
- Unsaturated Fat: 4g
- Trans Fat: 0g
- Carbohydrates: 37g
- Fiber: 2g
- Protein: 3g
- Cholesterol: 70mg